Focused arrival windows
Useful updates and clear arrival timing.
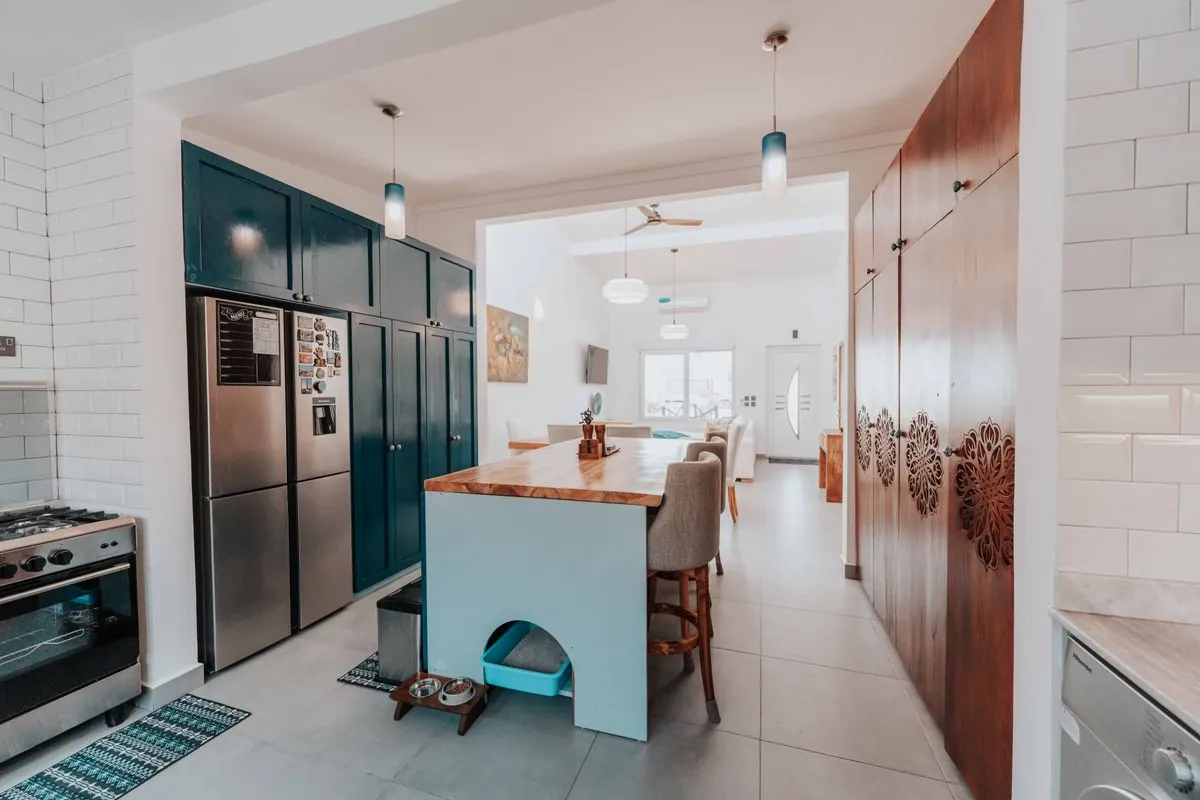
A kitchen island gives you prep space, storage and a place to sit, but only if it fits the room. We build and install islands sized to your kitchen, with the seating, storage and outlets placed where you will actually use them.
Useful updates and clear arrival timing.
Review the approach and price before deciding.
Equipped vehicles and respectful cleanup.
Neighbors serving neighbors with follow-through.
Every island job we quote includes the items below. Countertop choice, seating, lighting and any electrical work are scoped with you before we start, so the estimate matches the work.
We measure the room and the walkways around the island so doors, drawers and the dishwasher all clear. The island is sized to the kitchen, not to a catalog page.
The island base is built from cabinet boxes matched to your kitchen, with drawers, shelves and pull-outs placed where you reach for things. Everything is leveled and anchored to the floor.
The top is templated to the island base, cut, and set with the overhang you need for seating. Seams are placed where they will not show.
We plan the overhang and the leg room so stools fit without crowding the walkway. The seating side stays clear of drawers and appliance doors.
Outlets are added where the code calls for them, and pendant lights are hung level over the island. We coordinate the electrical work with the install.
Doors are aligned, hardware is set, the top is sealed where the material calls for it, and we walk the island with you to check every drawer and edge.
Share what is happening and receive a clear next step from the local team.
A kitchen island is a piece of furniture and a work surface in one, and it has to do both jobs without getting in the way. The base has to be level and anchored, the top has to overhang enough for seating, and the walkways around it have to stay wide enough for two people to pass. We measure the room first and build the island to fit it.
The most common mistake with islands is size: too big and the kitchen feels cramped, too small and it is just a table in the middle of the floor. We lay out the footprint with tape on the floor before we build anything, so you can walk around it and feel the space. If the dishwasher door or the fridge door hits the island, we know before the first cabinet is ordered.
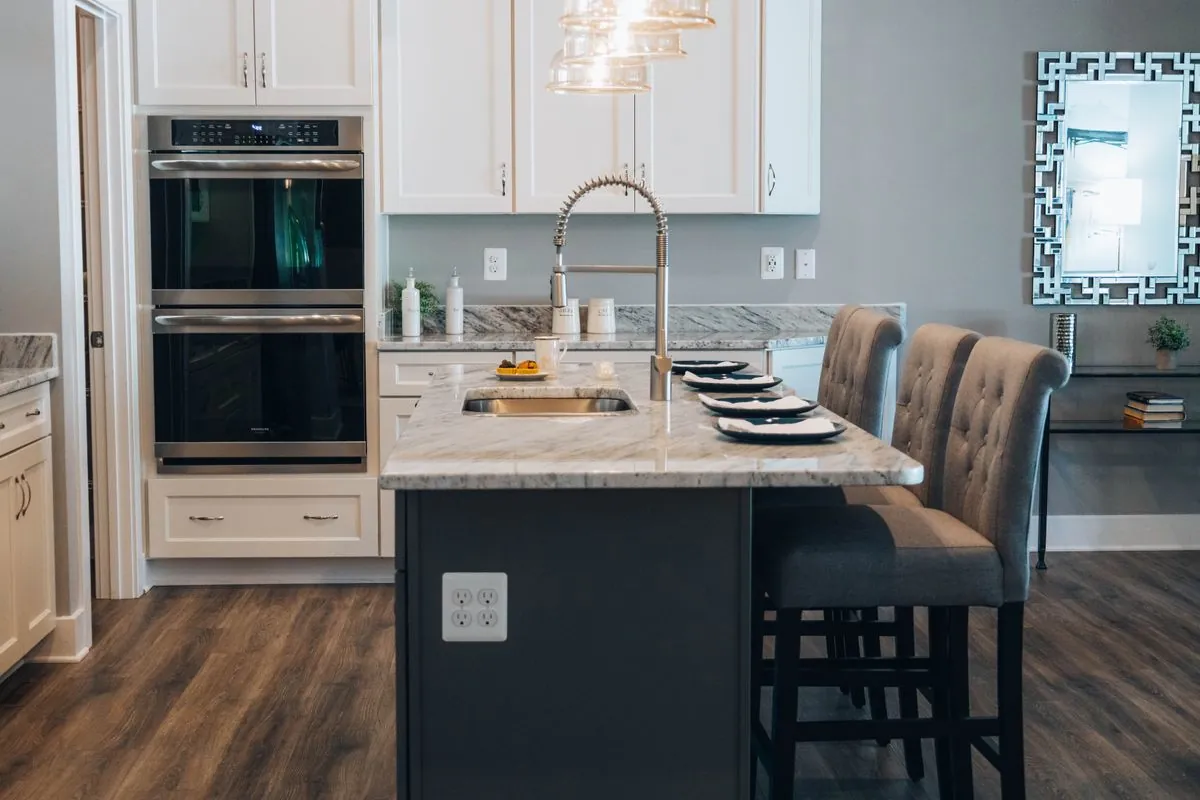
We measure the kitchen, check the walkways, and tape the island footprint on the floor so you can walk around it. You get a written estimate with the size, storage and top listed.
You pick the door style, countertop, hardware and seating overhang with us. We confirm the electrical needs and the lead time before we schedule.
The cabinet base is built, leveled and anchored to the floor. Drawers and pull-outs are fitted and tested before the top goes on.
The countertop is templated, cut and set. Outlets are wired and pendants are hung level over the island, and everything is tested.
Doors are aligned, the top is sealed where needed, and we walk the island with you to check the seating, the storage and every edge.
We level the island base before the top goes on. A base that is out of level shows up in the doors and in the countertop seam.
We tape the island footprint on the floor before building. Walking the space tells you more than a drawing about whether the size is right.
Locates floor joists and framing for anchoring the base and for any pendant light placement above the island.
Cuts cabinet panels and countertop openings on site. The jigsaw handles the curved cuts a circular saw cannot reach.
Fastens the base, trim and panels. A tight fit here is what keeps the island from shifting when someone leans on it.
Seals the top-to-base joint and any gaps at the floor. In a humid kitchen, sealing keeps moisture out of the cabinet boxes.
We template the island top to the base so the overhang is even on the seating side and the seams land where they will not show.
Every new outlet on the island is tested before we leave. Power that does not work is worse than no power at all.
We add an island with a quartz top, deep drawers for pots, and seating for two. The kitchen gains a work surface and a place to sit without moving a wall.
We remove the peninsula and install a freestanding island with storage on both sides. The room opens up and the work triangle works again.
A longer island with a prep side and a seating side gives two cooks room to work without bumping into each other.
We add a compact island with a seating overhang and a couple of stools. No cabinet replacement, no layout change, and the kitchen becomes the room everyone gathers in.
Islands work well in Bonita Springs kitchens because the rooms here are often open to the living area, and an island is what separates the cooking space from the rest of the room without closing it off. In the newer gated communities the kitchens are big enough for a full island with seating. In the older homes off Old 41 the rooms are smaller, so we size the island down and keep the walkways clear. Humidity matters too: the island base sits on the floor, so we seal the base and check the subfloor before we anchor anything.
Larger open kitchens where a full island with seating fits naturally. We plan the pendant lighting with the island size so the room stays balanced.
1990s kitchens with room for a compact island. We keep the walkways wide and the storage deep so the island earns its floor space.
Older layouts where a peninsula blocks the flow. Replacing it with a freestanding island opens the room without moving walls.
Smaller kitchens where the island has to be sized carefully. We tape the footprint on the floor first so you can feel the space.
Owners who are away want the island finished in one visit. We template, build and install on a tight schedule so the kitchen is ready when they return.
Tight access and building rules shape the delivery. We coordinate the install window with the building so the day runs smoothly.
Island bases sit on the floor where moisture collects. We seal the base and check the subfloor before anchoring anything.
Most of the calls we get start with one of these. Each one gets worse if you wait.
The counters are full and there is nowhere to chop, mix or set things down. An island adds a work surface and storage without moving a wall.
The peninsula forces everyone through one narrow gap and wastes the corner. We replace it with a freestanding island and the room opens up.
Doors hit it, drawers cannot open, and two people cannot pass. We resize or rebuild the island so the walkways work again.
An island without outlets or seating is just a table. We add outlets where the code calls for them and plan a seating overhang that fits real stools.
The cost of an island moves with its size, the countertop, the storage inside it, and whether it needs power or plumbing. We give you a free written estimate after the on-site measure, so you see the number before you approve anything.
A bigger island means more cabinet boxes, more countertop and more finishing. The size also decides how many stools fit and how much storage you gain.
Quartz and granite cost more than laminate, but they handle heat and daily prep better. The overhang for seating also adds material to the top.
Deep drawers, pull-outs and organizers add to the cabinet cost. We plan the storage around what you actually keep in the island.
Outlets on the island and pendant lights above it need wiring. The electrical scope depends on what is already in the floor and ceiling.
A prep sink in the island means water and drain lines under the floor. We scope that separately so you can see what it adds.
The island anchors to the floor, so the subfloor has to be level and sound. If it needs repair, that work is in the estimate before we build.
You need enough space for the island plus clear walkways around it. As a rule, the walkways should let two people pass and let the dishwasher and fridge doors open fully. We tape the footprint on your floor during the estimate so you can walk around it before you commit.
Sometimes. A compact island can work in a smaller kitchen if the walkways stay clear and the doors still open. If the room is too tight, a narrow island or a different layout may serve you better. We measure the room and tell you straight whether an island fits.
An island is far more useful with outlets, and the code calls for them in most new island installs. We add outlets where you will actually use them and test every one before we leave. Pendant lights above the island are wired at the same time.
Most island installs finish in two to four days once the cabinets and top are on site: a day to build and anchor the base, a day for the top and the electrical, and a final visit to align doors and seal the top. Lead time depends on the cabinet and countertop you pick.
Call +1 619-960-0868 or send a request through the contact form. We visit, measure the room, tape the footprint on the floor, and give you a written estimate that lists the size, storage and top. There is no charge for the visit or the estimate.
Not seeing your question? Our local team can help you understand urgency, scheduling and what to expect.
Ask the local teamCall or email us and we will schedule a walkthrough at your Bonita Springs kitchen. Most estimates go out within two business days of the visit. We answer the phone during business hours and return after-hours messages first thing the next morning.